In the world of AI-generated visuals, your imagination is the only limit—but how do you effectively communicate that vision to the AI? At hippist AI, we believe the magic happens when you combine precise prompt writing with intelligent brushing. This powerful duo gives you unprecedented control, transforming your basic product photos into stunning, professional-grade imagery.
Let’s dive into how you can become a master of your digital photoshoot crew.
The Art of Prompting: Guiding the AI’s Creativity
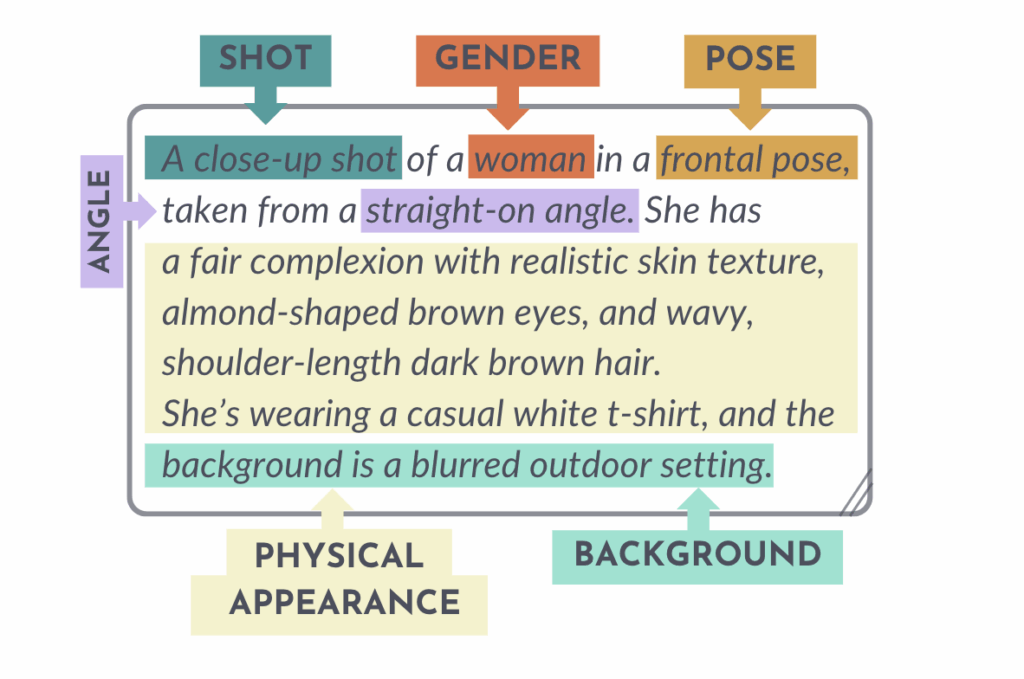
Think of a prompt as your directorial script for the AI. The more detailed and specific your instructions, the closer the AI can get to your desired outcome. According to our help page on writing prompts, key elements to consider include:

- Shot Type & Angle: Define the framing and perspective (e.g., “close-up,” “full-body,” “straight-on,” “three-quarter right-side profile pose”).

- Subject & Pose: Clearly describe the subject (gender, age) and their posture (e.g., “female,” “young man,” “standing straight,” “arms raised upward”).

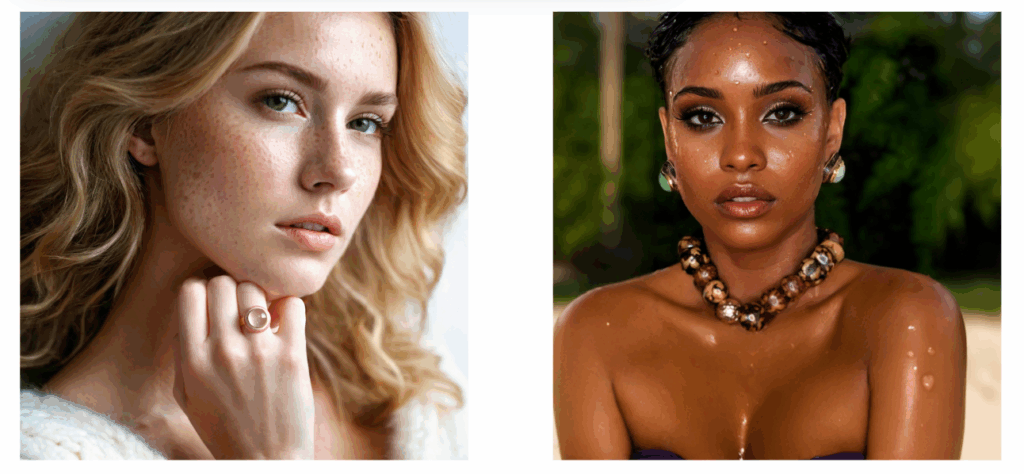
- Physical Appearance: Be meticulous. Detail complexion, skin tone, eye color, hair style and color, makeup status, and even specific facial features like “expressive eyes” or “defined bone structure.”

- Clothing & Styling: Describe outfits from outer to inner layers, specifying colors and styles (e.g., “wearing a beige blazer over a white t-shirt,” “A woman wearing a plain black faux fur coat with a voluminous shawl collar”).
- Background: Set the scene with a clear description (e.g., “blurred outdoor setting,” “aspirational interior,” “cityscape”).
By combining these aspects, you create a rich narrative that guides the AI precisely.
Beyond Words: The Precision of Brushing
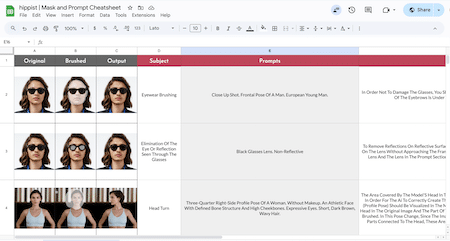
While prompts set the scene, brushing allows you to refine specific areas of your image, instructing the AI exactly where to apply its magic. Our Brushing and Prompting Cheatsheet offers invaluable insights into these targeted transformations:
- Eyewear Brushing: When adjusting glasses, brush close to the frame but avoid brushing eyebrows if they’re partially covered, to maintain realism. For lens reflections, brush over the disturbing images on the lens without touching the frame, specifying the lens color in the prompt.

- Head Turns & Hair Changes: These require careful brushing. When changing a head pose, expand the brushing area to include the neck and adjacent body parts, as muscle movement can affect these areas. For hair transformations (like changing a bob to a ponytail), brush all existing hair and then expand the area for the new style. Ensure face details (skin tone, expressions) are specified in the prompt to prevent distortion.

- Arm Movements: Don’t just brush the arm! Expand the brushing area to include parts of the trunk, shoulders, and neck, as their muscle shapes will change with arm position. Remember to add clothing descriptions to the prompt to maintain consistency.

- Object Removal: If you want to remove an object (like a hand or a necklace), brush the object and parts of the surrounding area (e.g., shoulder, neck, back for hand removal). Use simple prompts like “Delete and remove.”

- Refinement and Clarification:
- Delete Expand Line: If Magic Expand leaves a “frame” on your image, brush that specific line. You can leave the prompt empty or use “Even out skin tone” or “Even out color tone” to seamlessly blend the area.
- Brushing for Skin Matching: To correct skin inconsistencies, use a smaller brush diameter for “point brushing” and prompt “Even out skin tone.”
- Brushing for Clarification: If an area is blurry or not clearly visible, brush it and use “Clearly” as your prompt.

- Completing Outfits & Object Integration: When changing clothes or adding elements that interact with existing products, brush the entire area that needs change (not just missing parts). For products, ensure you brush around the product without touching it to keep it intact, choosing clothing colors that complement the untouched areas.

Putting It All Together: Your Creative Workflow
The power of hippist AI truly shines when you combine these techniques. Start with a clear prompt to define your overall vision, then use brushing to fine-tune specific details, correct imperfections, or introduce new elements. This iterative process allows you to experiment rapidly, iterate on designs, and achieve pixel-perfect results faster and more affordably than ever before.
Ready to take your product photography to the next level? Dive into our detailed guides and cheat sheets to unlock the full potential of hippist AI.

Explore More:


